How to Improve Your Photography Skills with These Simple Tips
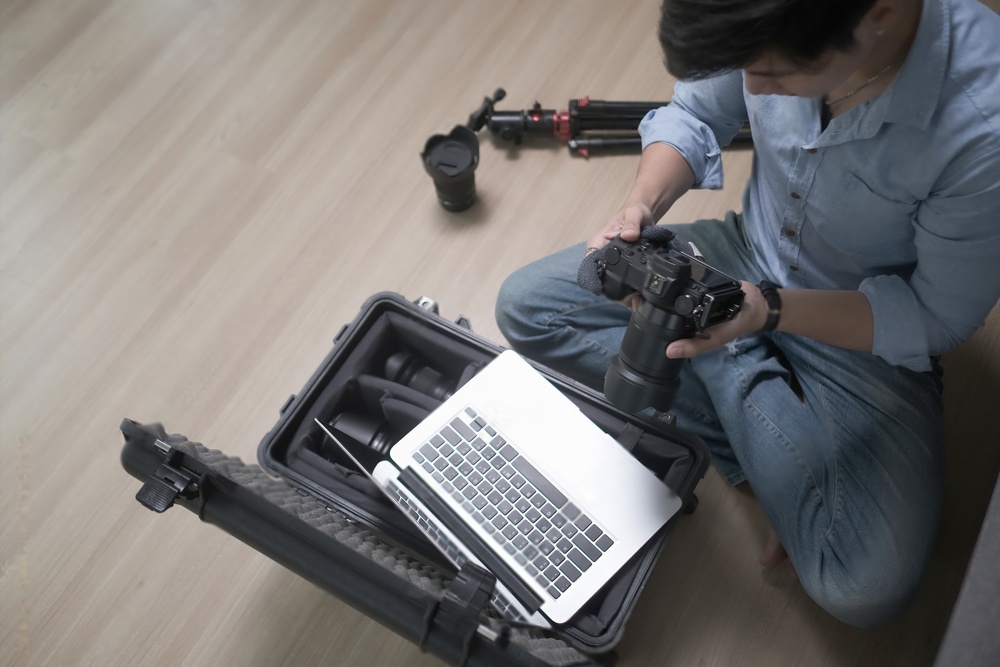
Photography is a skill that can take years to master, but that doesn’t mean you can’t improve quickly with a few simple tips. Whether you’re just starting out or looking to refine your abilities, focusing on key areas will make a huge difference in how you shoot. And sometimes, hiring a professional photography studio can give you that extra boost by offering the right environment and equipment.
In this guide, I’ll share some tips that can take your photography to the next level, no matter where you are in your journey.
The Beginning: Understanding the Basics
When I first started, I had no idea where to begin. The world of photography seemed so large and overwhelming. But here’s the secret: start simple. Every photographer has to learn the basics before moving onto more complex techniques. The great thing about photography is that it’s a blend of art and science.
1. Master Your Camera Settings
The best way to start improving your photography skills is by understanding how your camera works. Take the time to learn about:
- Aperture – Aperture refers to the opening in the lens through which light passes into the camera. It is measured in f-stops (e.g., f/2.8, f/4, f/16). A lower f-stop number means a wider aperture (more light comes in), while a higher f-stop number means a narrower aperture (less light comes in). The aperture also controls the depth of field, which determines how much of your image is in focus. A wide aperture (low f-stop) creates a shallow depth of field, making the background blurry, while a narrow aperture (high f-stop) keeps more of the image in focus.
- Shutter Speed – Shutter speed refers to the amount of time the camera’s shutter remains open when taking a photo. It is measured in fractions of a second (e.g., 1/500, 1/1000) or whole seconds (e.g., 1″, 5″). A fast shutter speed (e.g., 1/1000) freezes motion, ideal for capturing fast-moving subjects. A slow shutter speed (e.g., 1″, 2″) allows more light in but can result in motion blur if the subject or camera moves.
- ISO – ISO refers to the camera sensor’s sensitivity to light. It is typically measured in numbers like 100, 200, 400, 800, and so on. A lower ISO number (e.g., ISO 100) makes the sensor less sensitive to light, which is ideal for well-lit environments. A higher ISO number (e.g., ISO 1600 or higher) increases sensitivity, useful in low-light situations. However, higher ISO settings can introduce noise or graininess in the image, reducing its quality.

These three are the foundation of any photo. Together, they form what photographers call the exposure triangle. Once you know how these settings interact, you’ll have greater control over the photos you take. Remember, even the best photography studio won’t make a difference if you don’t know how to use your camera effectively.
2. Composition is Key
After you’ve gotten familiar with your camera settings, the next step is to work on your composition. Great photos aren’t just about technical settings; they’re about what you’re capturing. Pay attention to:
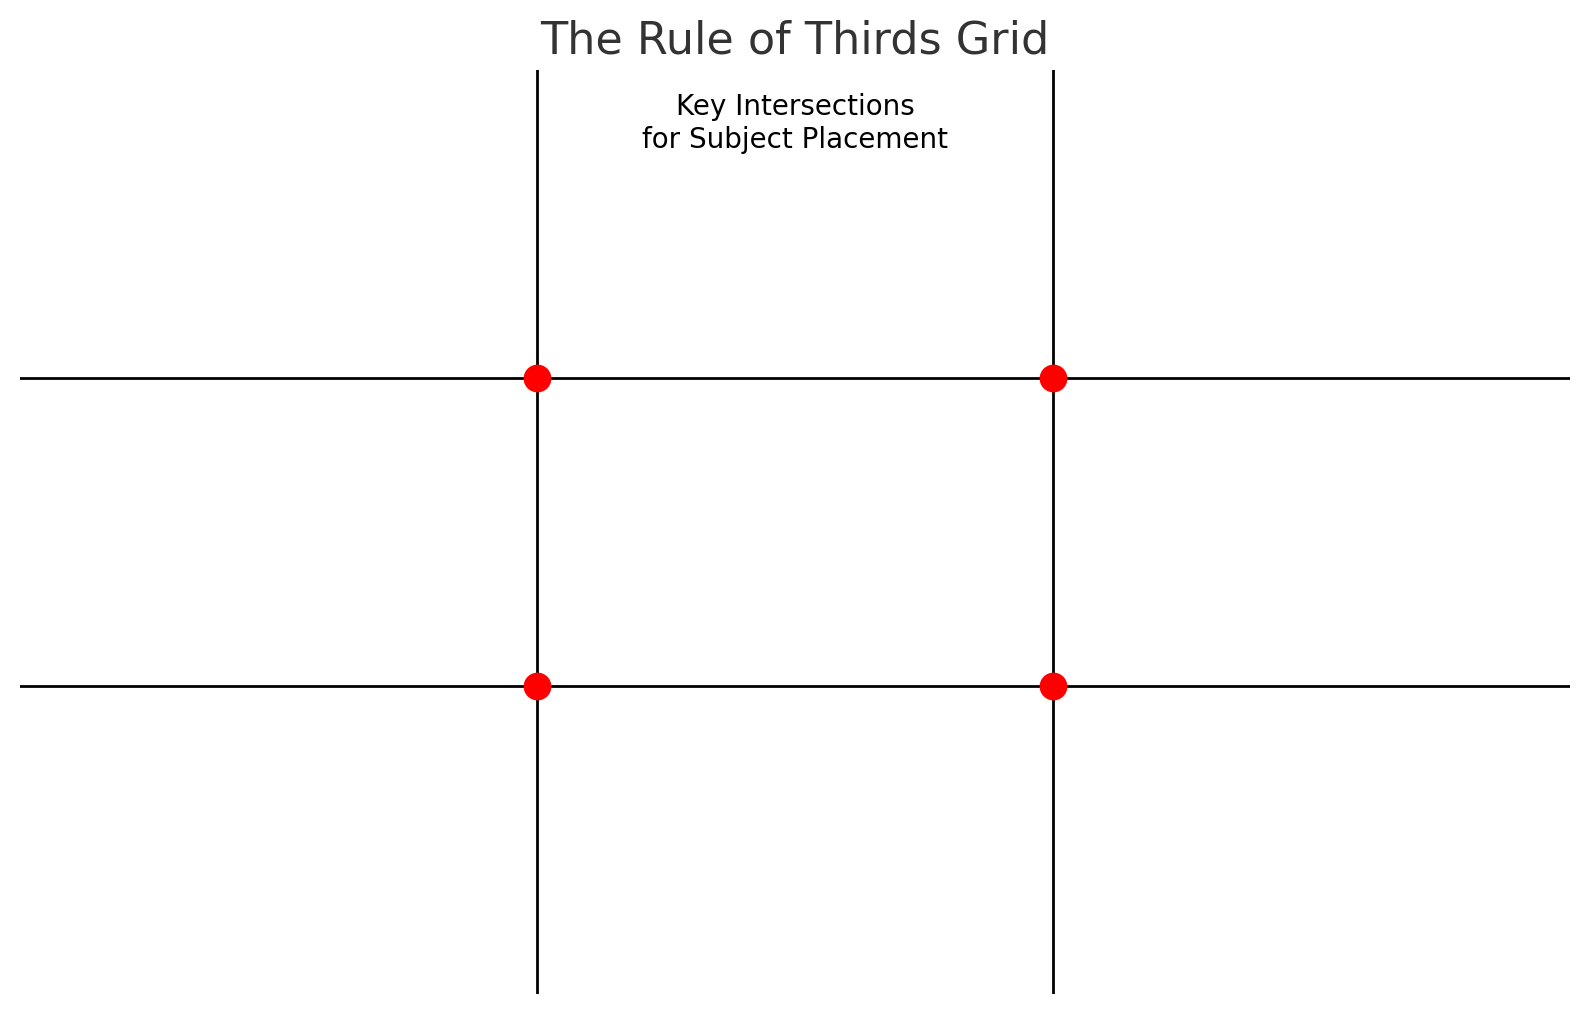
- The Rule of Thirds: Imagine dividing your frame into three parts, both horizontally and vertically. Place your subject along these lines for a more balanced shot.
- Leading Lines: Use natural lines, such as roads, fences, or rivers, to draw attention to the subject of your photo.
I’ve found that once you start thinking about how to arrange your photo, your shots will become much more interesting.
The Middle: Experimenting with Lighting
Lighting is one of the most important aspects of photography. You can hire a photography studio with the best equipment, but if your lighting isn’t right, your photos won’t reach their full potential.
3. Use Natural Light
If you don’t have access to a photography studio, don’t worry! You can do amazing things with natural light. When starting out, I recommend practising in different lighting conditions:
- Early morning or late afternoon (known as the “golden hour”) gives you soft, warm light.
- Overcast days create even lighting, perfect for portrait photography.
4. Learn Studio Lighting
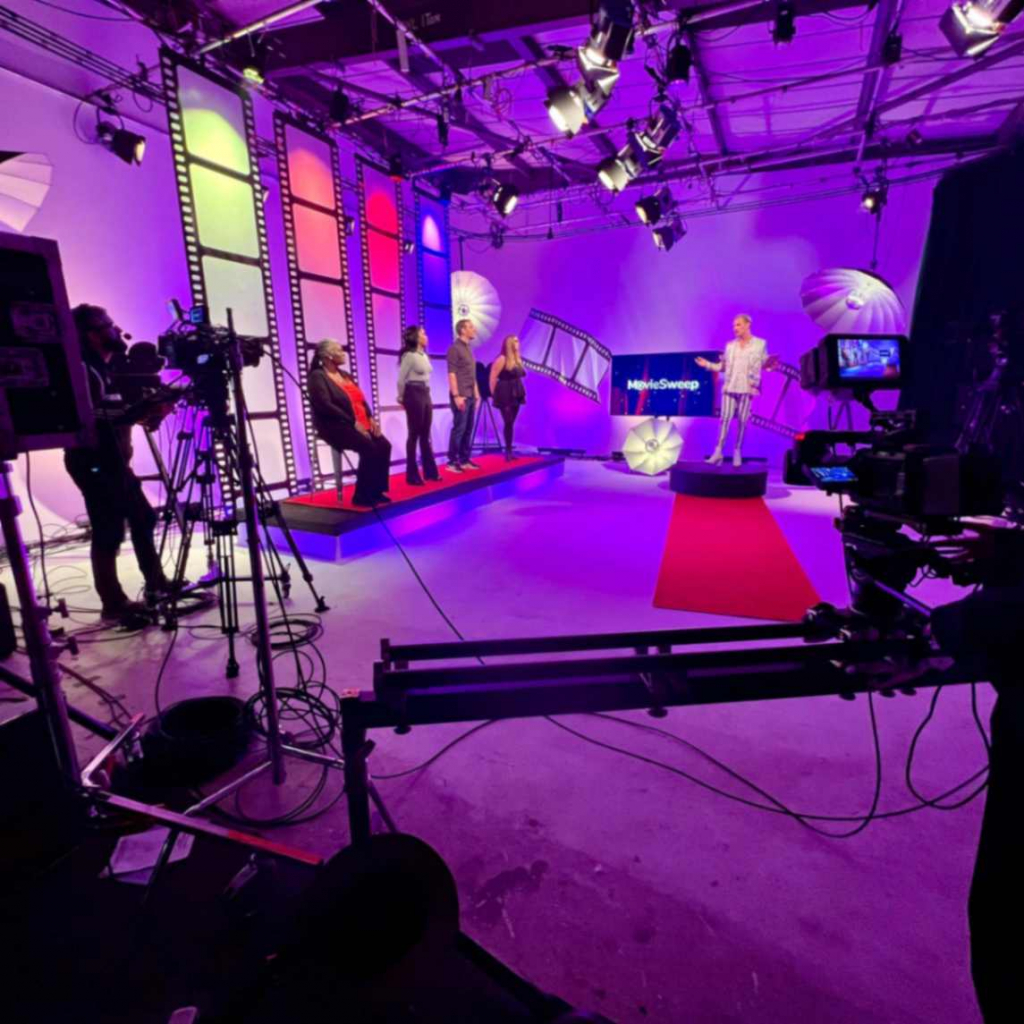
When you’re ready to move beyond natural light, consider working in a studio setting. A professional photography studio will provide all the tools you need to control the lighting and capture high-quality images.
Here’s where hiring a photography studio can make a huge difference. When you hire a photography studio, you’ll have access to:
- Professional lights like softboxes and reflectors.
- Tools to control shadows and highlights, which can dramatically improve your photos.
If you’re looking for the best photography studio, make sure to choose one that has all the equipment you need and offers support for beginners.
The End: Practice Makes Perfect
Now that you’ve learned the basics and explored lighting, it’s time to put everything into practice. No matter how many tips you read, you’ll only improve by getting out there and taking photos.
5. Challenge Yourself
Set challenges for yourself to push your skills further. Whether it’s shooting at different times of day or capturing fast-moving subjects, you’ll learn more by stepping out of your comfort zone.
6. Review and Reflect
Don’t be afraid to review your work. Go through your photos, identify what you like and what could be improved. Over time, you’ll develop a keener eye and a better understanding of your personal style.
7. Join a Photography Community
Learning from others is one of the best ways to improve. Whether it’s joining a local photography group or taking part in an online community, you’ll find support and guidance from others who share your passion.
Sometimes, investing in a photography studio that offers workshops or mentoring sessions can provide that extra bit of knowledge you need.
Conclusion
Improving your photography skills takes time, patience, and practice. By mastering your camera settings, experimenting with lighting, and challenging yourself to keep learning, you’ll see improvement with every shot you take. And when you’re ready, consider hiring a photography studio to give you the professional space and equipment needed to take your photos to the next level.
So, whether you’re just beginning or you’ve been at it for a while, these simple tips will help you grow as a photographer. Just remember, the best camera is the one you have in your hand, and the best photography studio is the one where you feel comfortable and inspired to create.