Step-by-Step Guide to Shooting in a Music Video Studio
Producing a high-quality music video requires meticulous planning, creativity, and the proper environment. Recording in a music video studio offers a controlled environment that adds production value with professional lighting, soundproofing, and access to sophisticated equipment. Whether you are an independent artist, a filmmaker, or a production company, knowing the key steps involved in a studio shoot can help you produce a visually appealing and engaging music video. This guide will walk you through the process to help you have a smooth and successful production.
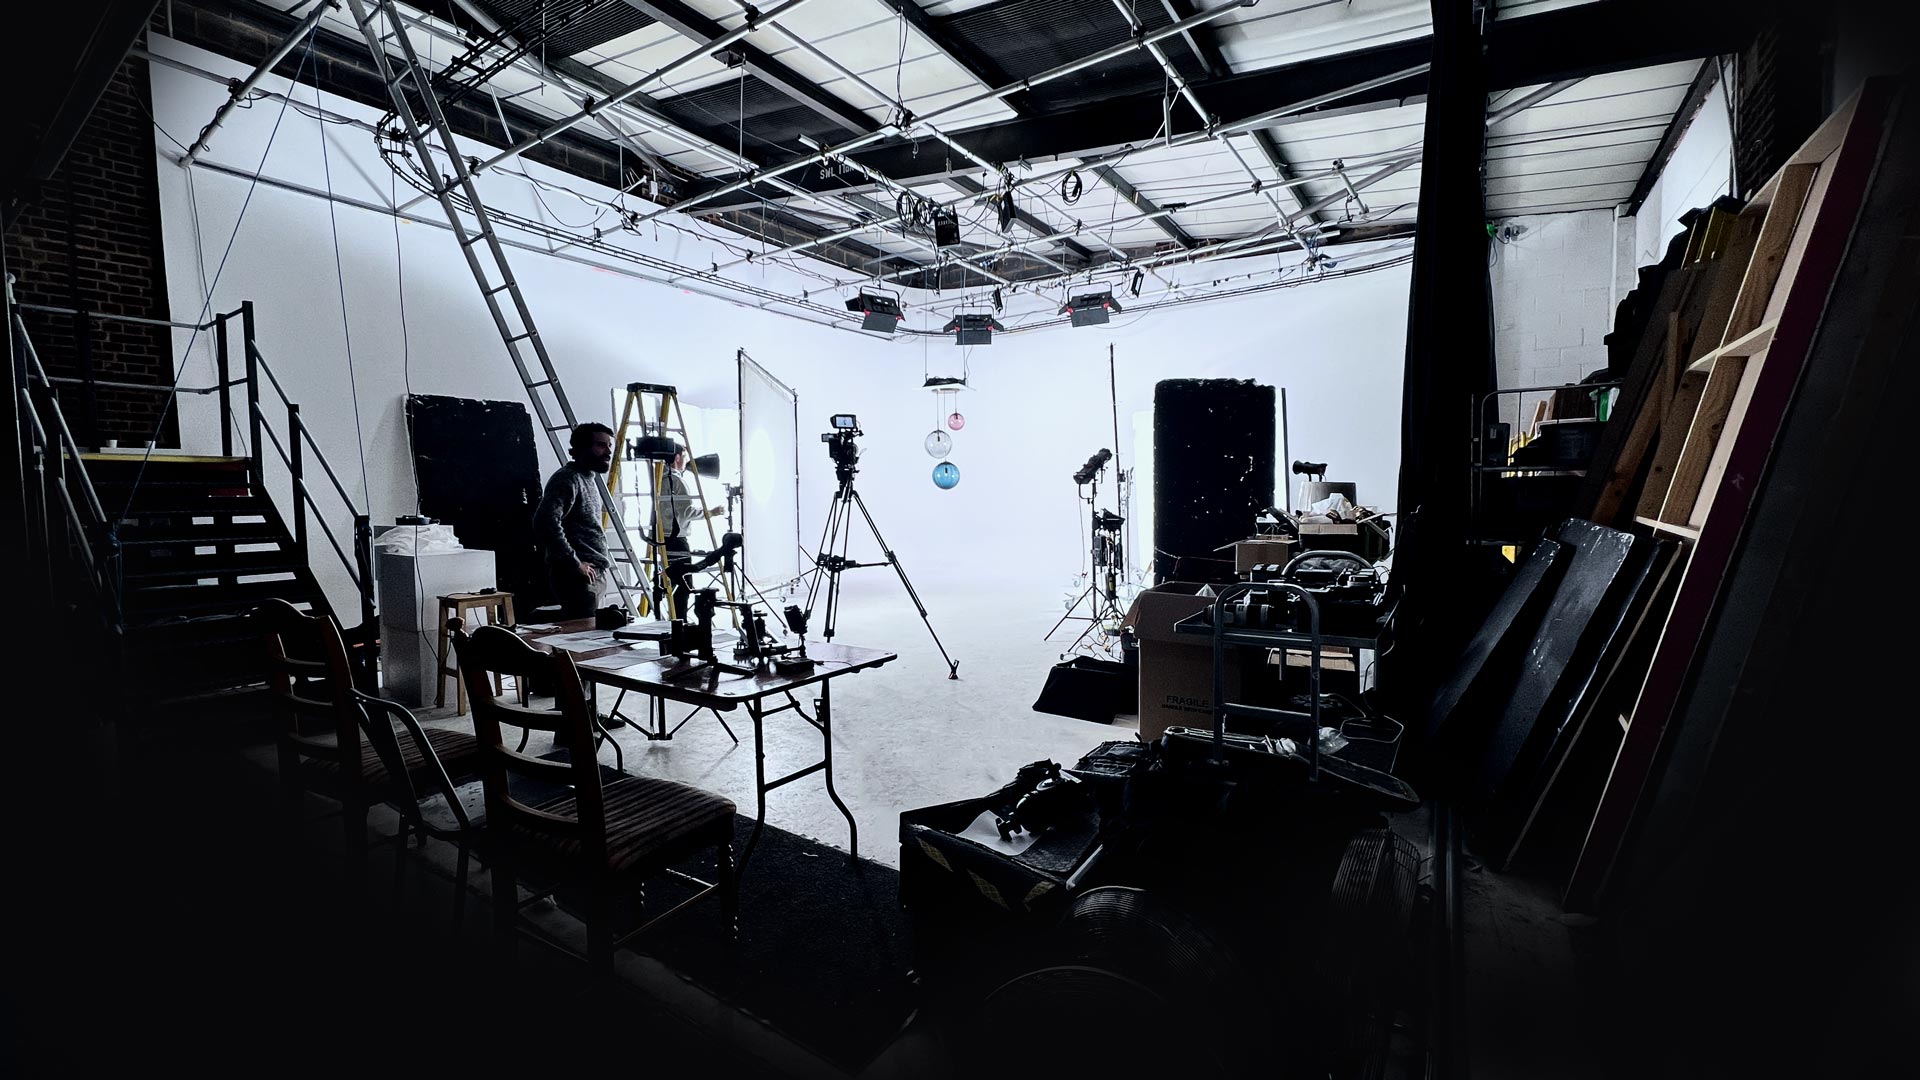
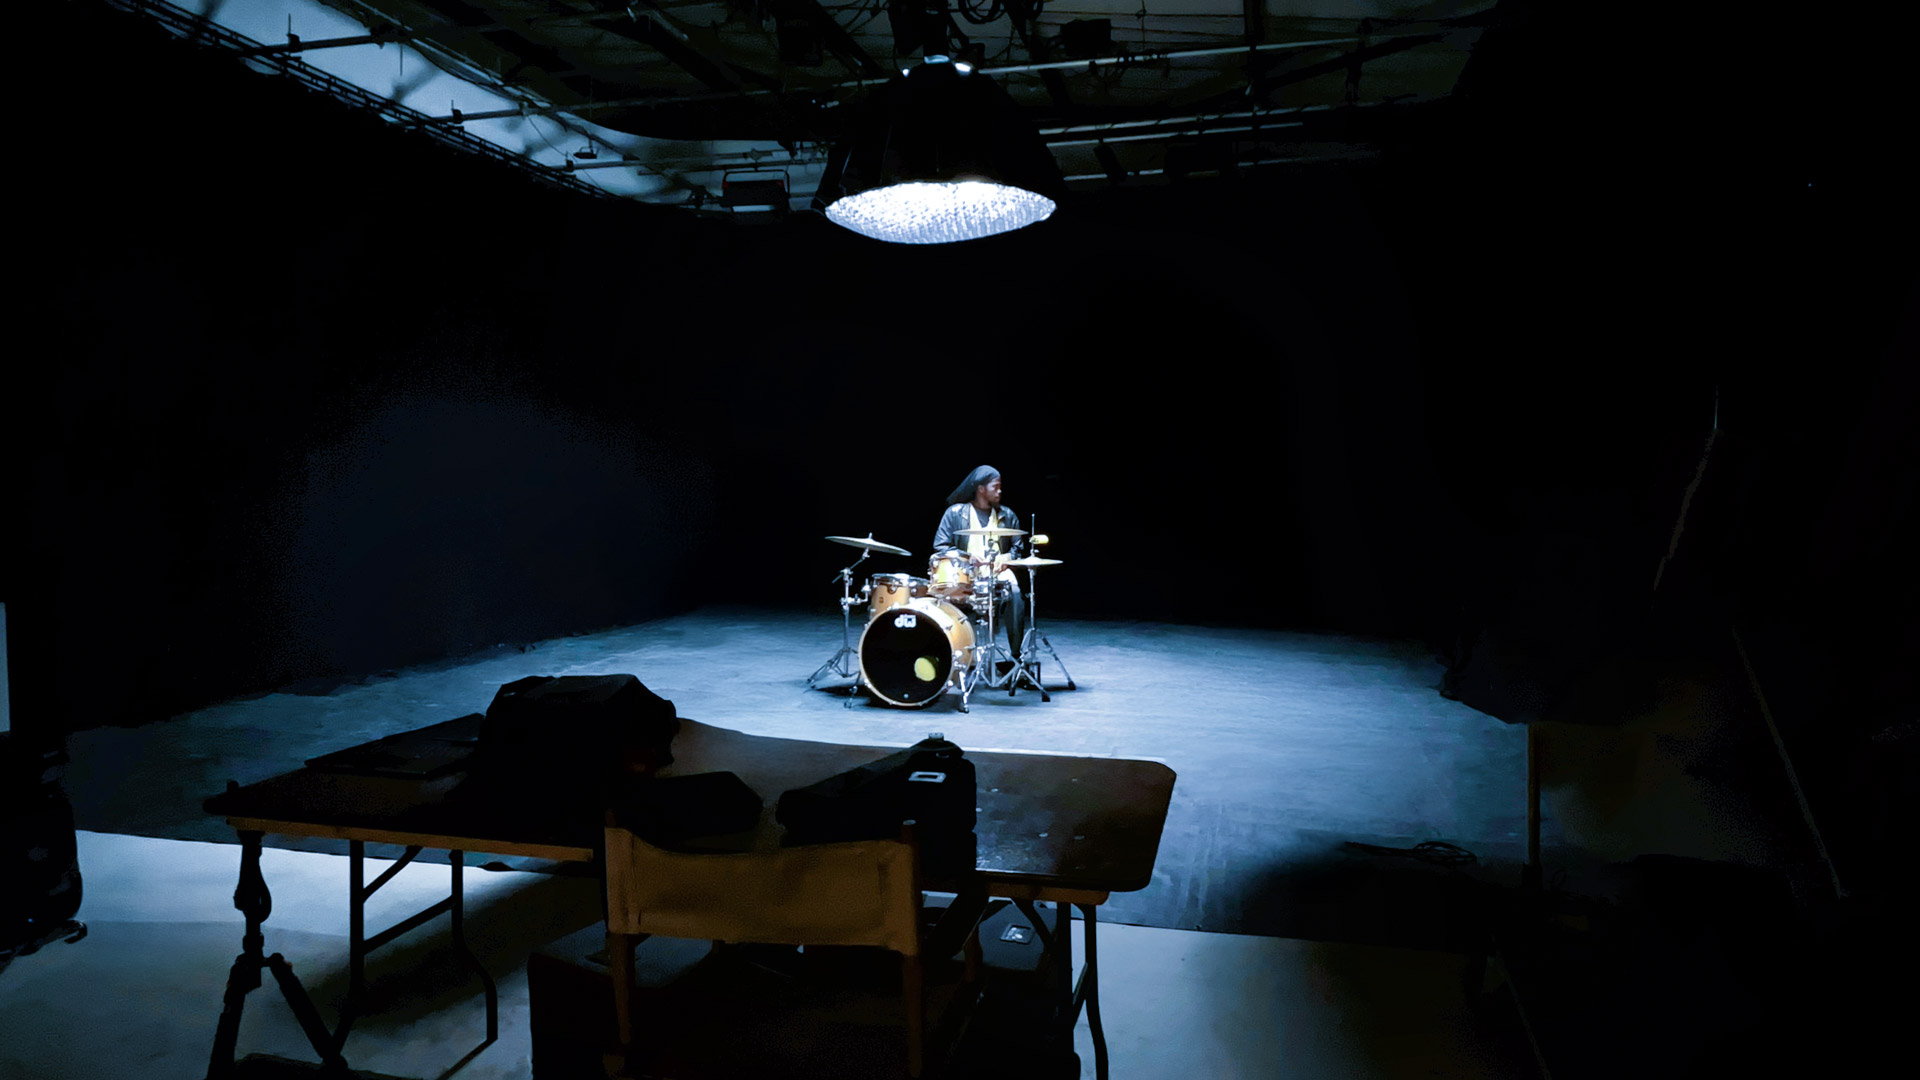
Step 1: Choose the Right Music Video Studio
Before you start, research and select a music video studio that fits your needs. Consider the following factors:
- Studio Size & Space – Ensure the studio is spacious enough for your crew and equipment.
- Lighting Setup – Check if the studio has professional lighting or if you need to bring your own.
- Acoustic Treatment – A well-treated studio can help improve sound quality.
- Availability of Equipment – Some studios offer cameras, backdrops, and props.
- Budget & Rental Costs – Choose a studio that fits your budget while offering the required amenities.
Step 2: Plan Your Concept & Storyboard
A clear vision is crucial for an impactful music video. Work on:
- Concept Development – Define the theme and mood of your video.
- Storyboard Creation – Sketch scenes to visualize shots before filming.
- Shot List Preparation – List specific shots and angles needed to save time on set.
- Costume & Props Planning – Ensure the wardrobe and props align with the video’s aesthetic.
Step 3: Assemble Your Team
A music video shoot requires a dedicated team, including:
- Director – Oversees the creative process.
- Cinematographer – Manages the camera work and visual composition.
- Lighting Technician – Handles studio lighting.
- Makeup & Wardrobe – Ensures the artist looks their best.
- Production Assistants – Help with logistics and smooth workflow on set.
Step 4: Set Up Lighting & Camera
Lighting is key in a music video. Use:
- Key Light – The primary light source for the subject.
- Fill Light – Balances shadows and highlights.
- Back Light – Creates depth and separates the subject from the background.
- Color Lighting – Experiment with different hues to set the mood and enhance creativity.
Test different camera angles, movements, and lenses to capture dynamic shots.

Step 5: Perform Multiple Takes
Even with thorough planning, multiple takes help perfect the video. Encourage the artist to perform with energy, experiment with different movements, and adjust shots for better composition. Review footage in between takes to ensure the best possible outcome.
Step 6: Edit & Finalize
Post-production brings the video to life. This involves:
- Color Grading – Enhances the visual appeal.
- Sound Syncing – Aligns the music with visuals.
- Special Effects & Transitions – Adds creativity and uniqueness.
- Final Review & Feedback – Ensure the final cut aligns with the original vision before release.
Conclusion
Shooting in a music video studio enables total creative control and provides the perfect setting for high-quality visuals and audio. With meticulous planning of your idea, building a professional team, and applying proper lighting and camera methods, you can produce an excellent music video. Careful editing and post-production work will refine and make your end product compelling. Whether you’re creating your first project or are a seasoned director, using a music video studio can greatly enhance your production quality and help you realize your creative vision.